If you had viewed my recipe on Chicken Linguini with Shredded "Gouda", you'll know that my attempt at homemade Gouda cheese did not fare so well on the process. I wound up with a hard brick of cheese similar to a parmesan in taste and texture. There was no cutting this up to eat on crackers, and it was not going to "spread" on anything. ;-) After tasting it, I decided it was worth saving as a hard cheese. It tasted very much like parmesan, a little nutty flavor and a bit of saltiness too. The following is how I processed it after using a small amount of it in the Chicken Linguini recipe.
Home Made Cheeses
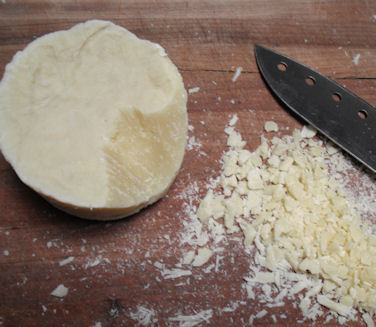
This is what I began with. It was difficult to keep trying to chop off pieces, so I placed the whole brick of cheese into a plastic freezer bag and got my trusty meat mallet out and went to breaking it up into manageable pieces. No more flying bits of cheese everywhere!
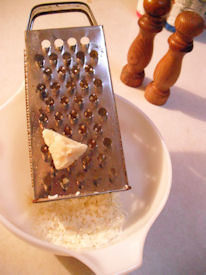
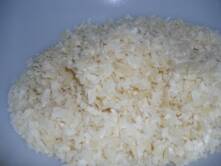
Much better on the sizes now. At first I was going to just chop it all up and make grated cheese. But I decided to try to shred some with the shredder and it worked out well. I only cut off one thumbnail in the process. ;-) Watch 'yer knuckles and the ends of your fingers using these things!
I worked all of the larger pieces and wound up with about 1 1/2 cups of nice shredded cheese.
I placed them in a plastic container with a lid and into the cheese drawer they went for using in future recipes.
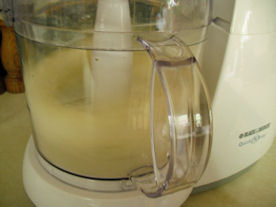
I chopped up the remaining pieces very small so I could throw them into the food processor to be grated. I tried putting some into the processor without chopping and they did nothing but fling around in there like the little white lottery balls do in the lottery machine. They had to be much smaller to catch that blade properly.
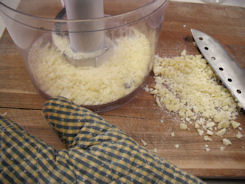
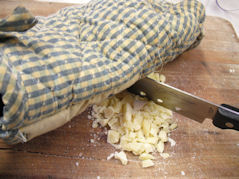
What is that oven mitt doing there?Hmmm.......
HOT TIP!
Whenever I have a labor intensive chopping job to do, (nuts, chocolate, and things like this cheese) I use an oven mitt on my hand for a cushion to steady the knife. I have tiny little hands and the palm and heel of my hand take a beating. The oven mitt makes it comfy and forces my fingers away from the knife too!
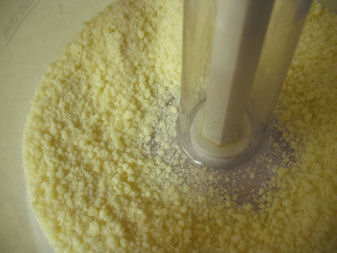
Okay, all chopped in tiny little pieces and now it gets a good whiz in the processor. The total time it took to get a good grated consistency was about 1 minute on high speed. I stopped it every now and then to check it.
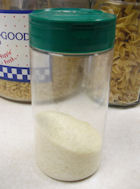
Here is the end result and the shaker container it was poured into. Recognize it?
Yep, it's a Kraft Parmesan cheese container. Into the fridge with it for sprinkling on "things". :-)
I began making cheese a few months ago and had very good luck with the softer cheeses. I'm still practicing on the semi-hard and hard cheeses and I will post my progresses along with my thoughts on the process. It is very rewarding to taste and use your own homemade cheese!
Today's' recipe will be for homemade Cream Cheese. The basic recipe comes from New England Cheesemaking Supply Co. Keep in mind that cheeses take time and sometimes constant attendance. Other than mozzarella that you can make and eat in less than hour, most of your soft cheeses are not going to be ready the same day. As is the case with Cream cheese, it will take 12-18 hours of setting at room temp after the liquid is prepared, and another 6-8 hours of hanging to drain once the cheese is formed.
When I make cream cheese I try to plan the milk and culture prep on a Friday or Saturday early evening so I can leave it set overnight. By the next mid-morning it is ready to be processed into cheese and hung to drain. If all goes well I can have a cream cheese snack by dinner time. ;-)
Raw milk is tough to purchase these days. You have to pay a "time share" in the cows or goats with approved farms before you can get any (by law). The "Time share" is usually a one time up front fee and then a monthly fee. You get gallons of Raw milk based on your paid amounts.
The good news is whole milk from the grocery store can be used with ingredients that make it cheese worthy. I have provided links to cheese making supply companies for you in the left side bar. Check your local health food stores for things like Rennet and other supplies. They may very well have it or be able to order it for you. (Ask them about raw milk too, you never know...you might gain a source.)
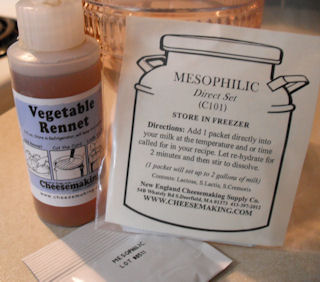
Meet the stars of the show....
1 gallon whole milk (or goat's milk)
1 packet direct set mesophilic-m-culture
3 drops of liquid rennet diluted in 1/3 C cool water.
Do not use chlorinated water!
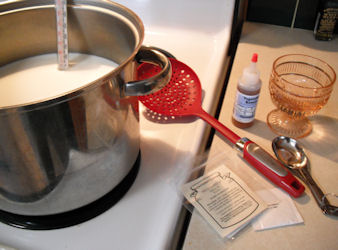
You will also need, a very large pot with a cover, large colander, cooking thermometer, long plastic stirring utensil, cheese cloth or fabric, (as I explain below), and a drip bowl for the whey.
Sterilize all equipment before beginning to make your cheeses.
Update: I did test this grated cheese out on top of some homemade simple goulash. It was very good!
The Mesophilic culture is a powder that comes in packets when you buy it from most cheesemakers. It should be kept in the freezer until the day you'll use it to keep it long lasting.
Rennet can be bought in either tablet form or liquid.
Here I have vegetable rennet, there is also animal rennet which is getting tougher to find these days.
Animal rennet is what was used most widely in cheese making until vegetable rennet was introduced.
I get my rennet from my local Health Hut, it's usually in the refrigerated items section. Rennet tablets (Brand name "Junket") used be carried in the grocery stores in the Gelatine supplies area, but a lot of grocers have stopped carrying it.
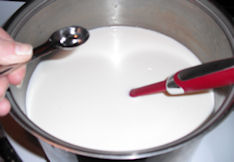
Start by warming the milk over low heat, slowly to a temperature of between 80 and 86 degrees. Remove from heat.
Add the Mesophilic powder packet and let it set for a minute on top of the milk. Then stir it in. Use an up and down stirring motion. From the bottom to the top. Then add 1 tsp of the diluted rennet. Stir it in for two minutes using the same bottom to top motion.
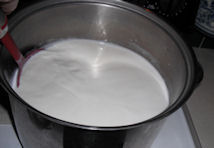
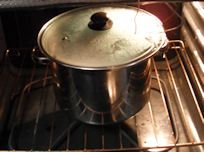
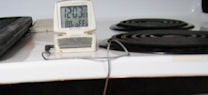
Now cover the pan and place it in an area that will maintain at least 72 degrees for 12 hours. (depending on temperature/humidity etc. this can take up to 18 hours) I placed mine in the oven with an electronic temperature unit that sits outside the oven and has a probe that sits in the milk.
Once you have it placed where it will stay, leave it alone! Do NOT stir it or disturb it. Just pretend it isn't there until the time is up.
Cheese is a cultured milk. You have to make or buy culture. Making culture can be done by using buttermilk and other methods, but it is so much easier and a huge time saver to buy the cultures already made. They are called "Direct Set Cultures".
Rennet is used to set the milk after it's cultured, which is how you wind up with "curd".
I won't go into a book of all the different types and ways to make cheeses, if you really want to learn and experiment with different methods there are a ton of sources on the Internet and some great books too!
Let's get back to the show....
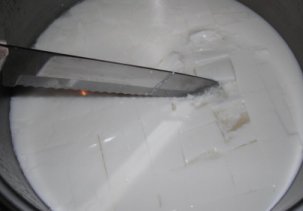
Now the curd is formed. The liquid you see is the whey. It's time to drain the curd.
Some people save the whey when they drain it and use it for baking. I'm not quite ready for that yet.
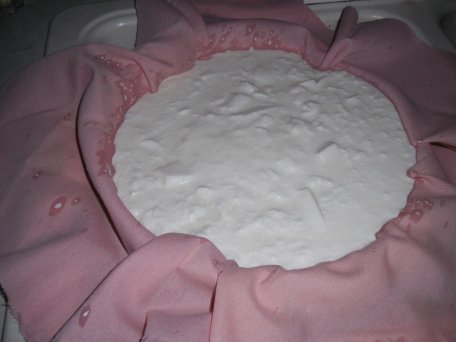
I have a large plastic colander in the sink with a thoroughly cleaned...and cleaned again pillow case to drain the curd in. After pouring it in I tied it closed with heavy string. This is a job, so be patient with it. The main thing is to be sure you have enough fabric or cheesecloth to be able to tie it up without having openings on the edges where the curd can fall out.
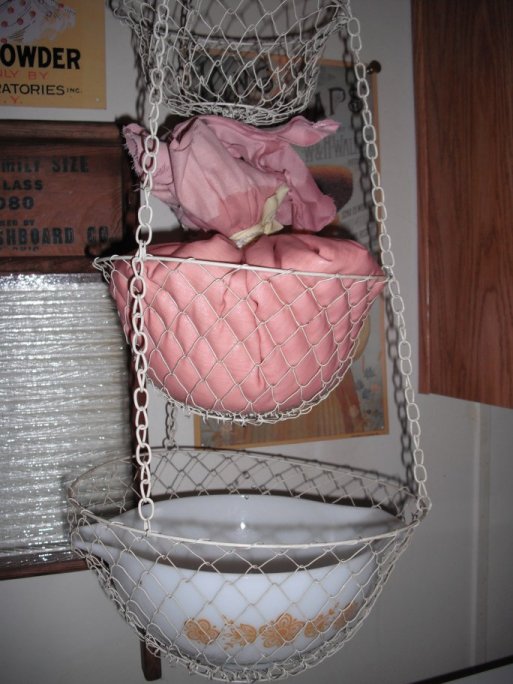
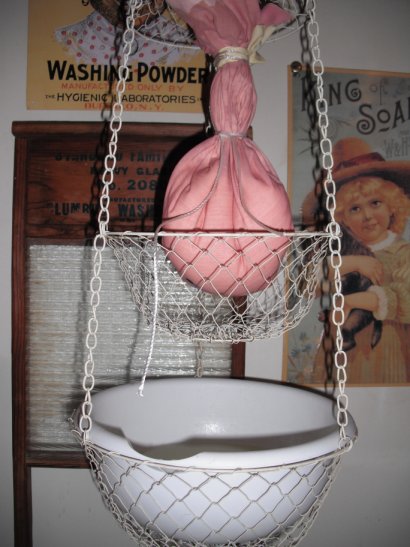
Here's how I hang the cheese to drain. These hanging baskets are very inexpensive and work perfectly for this. Now leave the cheese to drain for 6-8 hours. Watch the bowl you're draining into and empty it as needed.
The Gouda....Not So "Gouda"
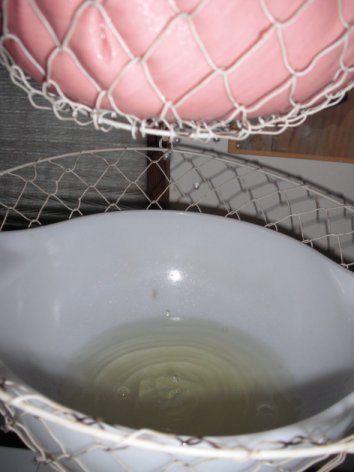
After 6 hours you can see that the bulk of the curd has reduced by more than half. I tied the top to the bar it was hanging on to get it dripping faster, then I squeezed the top down some more and tied again. Now it will go through about 1 1/2 hours more of dripping.
I ran out of time this morning to wait for the cheese to stop dripping, so I placed the bag in a small colander, and placed that in a bowl. I put it in the refrigerator hoping that by the time I got home from work it wouldn't be too dry from letting it drain too long.
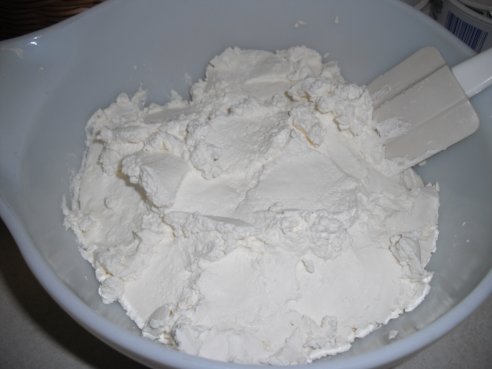
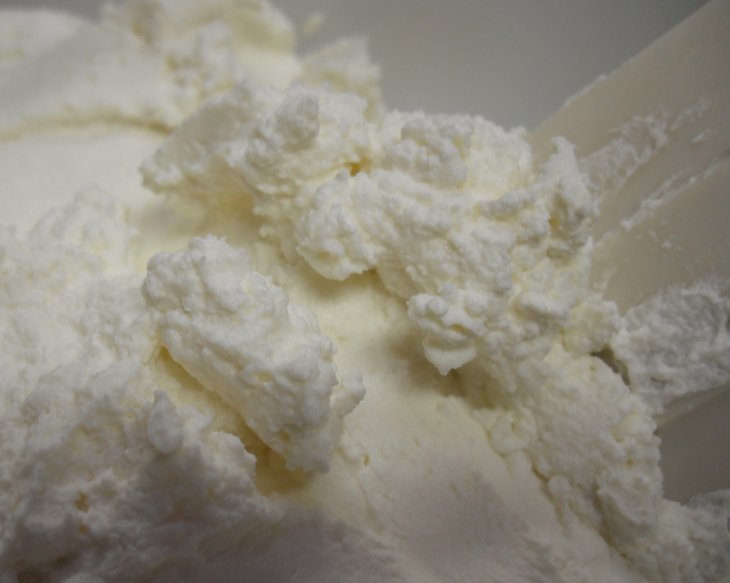
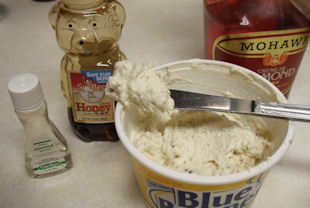
To my delight it was the perfect spreading consistency! It was also less messy to remove from the cloth.
We have cheese!
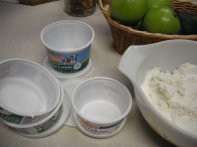
I am always excited (and relieved) when my cheese turns out exactly as I expected. Now all I have to do is add my special flavors to some of it....
....I will divide the cheese into containers. One I will leave alone and enjoy it as is. Some people add salt, I don't prefer that. I like my cream cheese a little sweet
The others I will be adding my own flavors to. Now, where are those bagels??
Click Images for larger views
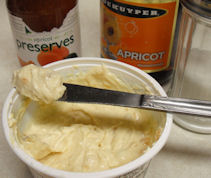
Apricot Preserves
Dash of Apricot Brandy
1/2 tsp. sugar
Apricot
Honey and Almond
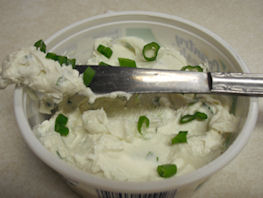
Garlic & Green Onion
2 Tbs. Honey
1/4 tsp. Almond extract approx.
3 Tbs. finely chopped almonds.
Dash of Almond liqeuer (optional)
3 small green onions with tops
1/2 tsp. garlic powder or
more to taste
Flavor combinations are only limited by your imagination.These are just 3 of my favorites. Keep in mind that anything you add that needs to be chopped up, you want it in very small pieces so your cream cheese will still be spreadable.